Research Begins with a Question
In some months the water of a village pond suddenly turns green. Ask anyone and the answer comes back quickly: the pond has algae in it. But why did the algae grow so thickly, and why this year? A guess cannot answer that. A question like this, one that you cannot settle by guessing, is where a research work starts. Where there is no question, there is no research.
Research work: a deep and careful study carried out in order to find the answer to a question or a curiosity.
Every discovery science has made is the result of study and research of this kind. A researcher works patiently on one subject and completes a fixed process from beginning to end. The answer may not come at the first attempt. Even after failing again and again, the researcher looks for the reason behind the failure, corrects it and tries once more. Research work is carried out under a set of steps, so what will be done at each step is decided before the work begins.
A failed attempt is part of the research, not the end of it. Finding out why it failed and correcting that is how the work moves forward.
The Seven Steps of a Research Work
A simple research work is generally carried out through the steps given below. They are completed in order, because each step works on what the step before it has produced.
- (a) Fixing the objective: writing down, in one clear sentence, exactly what the research is meant to find out.
- (b) Making the assumption or hypothesis: before any data is collected, stating a reasoned guess about what the answer is likely to be.
- (c) Choosing the method of collecting data: deciding whether the data will come from an experiment, from observation, or from asking people.
- (d) Preparing the materials needed: gathering everything the work will need before it is started.
- (e) Collecting the data: observing at the fixed times and recording what is seen.
- (f) Analysing the data: putting the collected records into a table or a picture and comparing them.
- (g) Conclusion: writing what the analysis shows, in a short and clear statement.
Two of these steps are easy to mix up. A hypothesis is made before the work starts, and it is allowed to turn out wrong. A conclusion is written after the work is over, and it says only what the data showed. If the data disagrees with the hypothesis, the conclusion records that disagreement. The data is never adjusted to suit the guess.
Hypothesis: the reasoned guess a researcher makes before collecting any data, written in a form that an experiment can test.
Data: the facts, measurements and observations that are collected while the research work is going on.
From Fertiliser to Algae: A Question Worth Testing
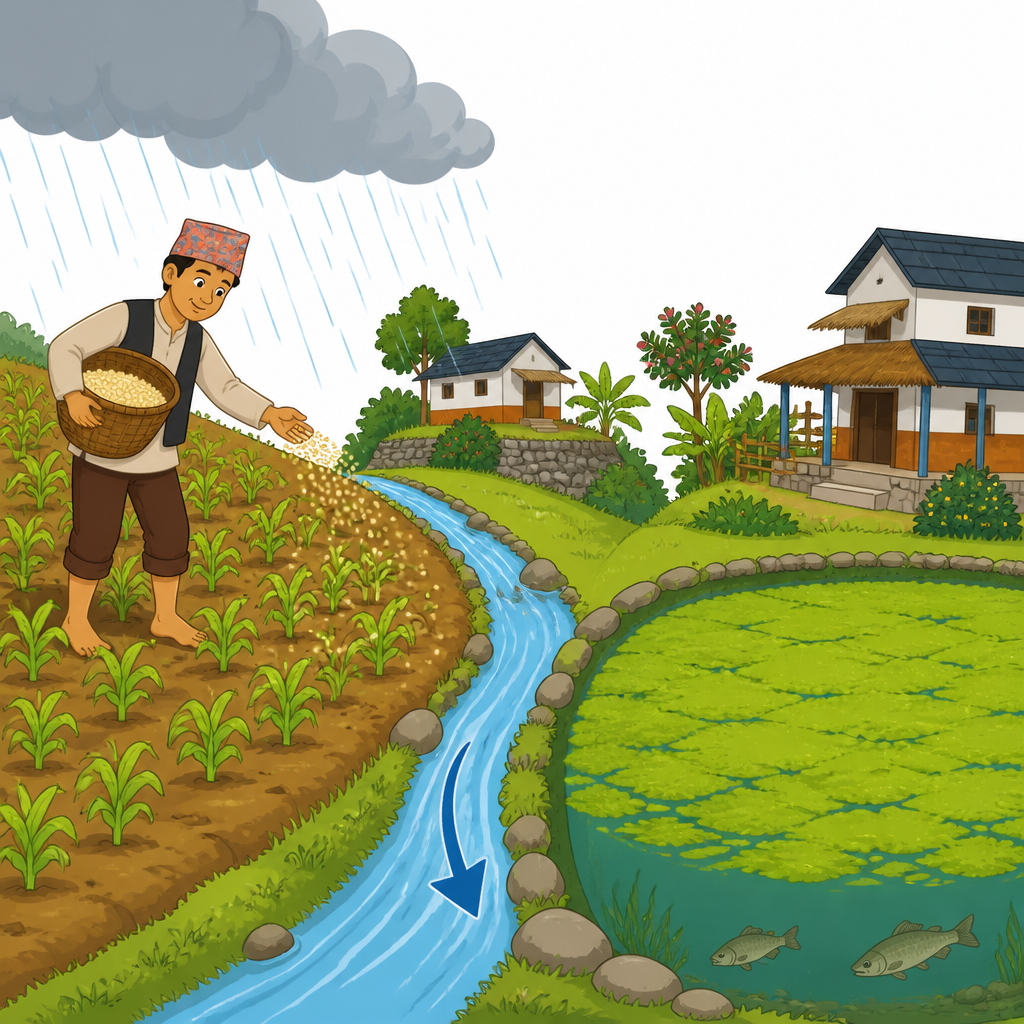
Chemical fertiliser is put into fields for the crops. The plants cannot take up all of it. The fertiliser that is left behind is washed away by rainwater and reaches rivers, lakes and ponds. Once it is there, people say, it makes the algae in the water grow thickly. But a thing you have heard and a thing you have tested are not the same, and that is exactly where a research work is needed.
The last line of that conversation is where the research begins. The question to be tested now takes this shape: which substances affect the growth of algae? Standing at the edge of a pond and watching will not answer it, because out there the sunlight, the temperature, the soil and the flow of water are all changing at once. So the test is made small, and kept under control.
Algae: the small green plants that live in water and use the oxygen dissolved in it.
Investigating Algae Growth: Aim and Materials
Research question: which substances affect the growth of algae? Objective: to find out what part chemical fertiliser and acid play in the growth of algae. The acid used here is ordinary kitchen vinegar, because it is easy to get hold of and is the milder choice.
- Pond water that has algae in it
- Three bottles of the same size and shape
- Chemical fertiliser
- Vinegar
- Stickers or slips of paper and a pen, for labelling
Never taste the chemical fertiliser or the vinegar, and do not let either get into your eyes. Wash your hands with soap after handling the fertiliser. When the work is over, do not pour the bottled water into a drinking water source.
The Method, Step by Step
Work through the steps below in order. All three bottles must be filled on the same day, from the same pond water.
- (a) Bring water that has algae in it from the pond.
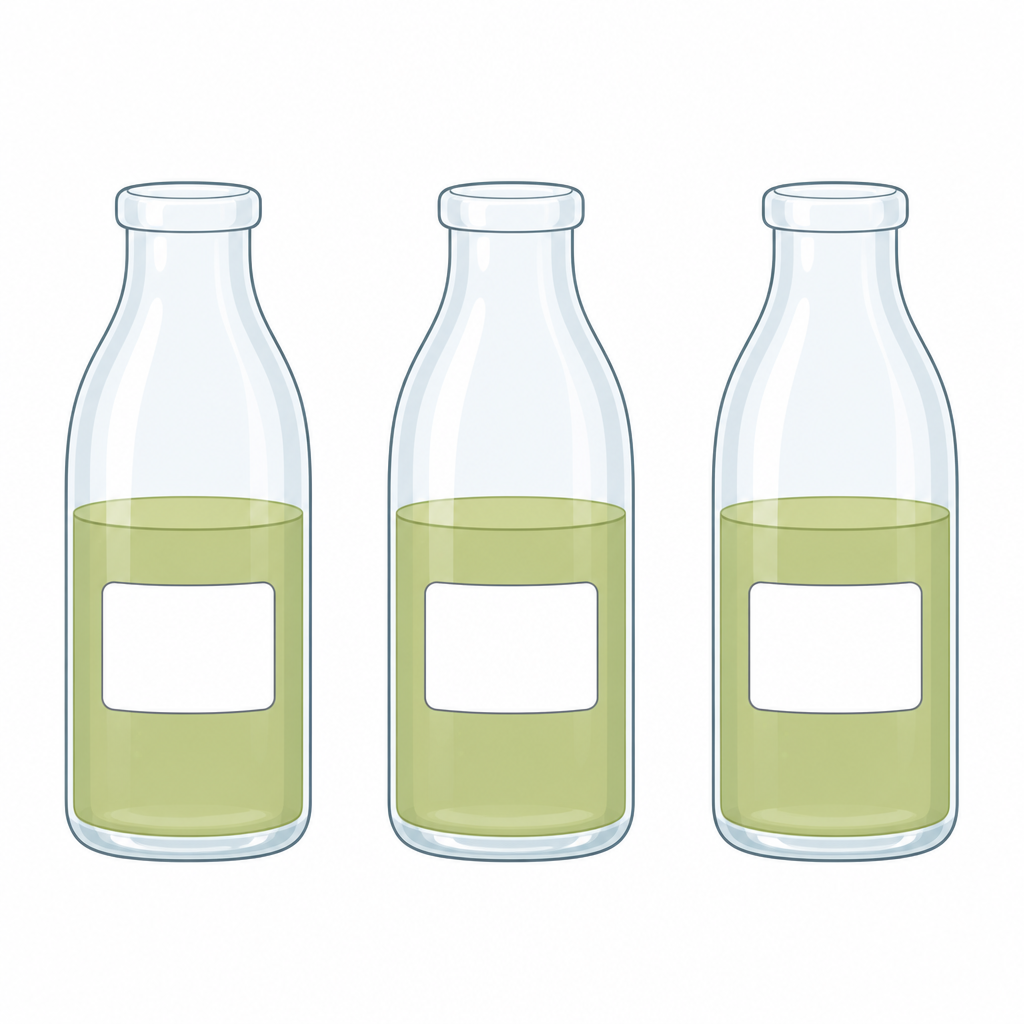
- (b) Pour that water into the three bottles, the same amount in each, filling each about half way.
- (c) Put nothing but the pond water into the first bottle. Add a little chemical fertiliser to the second, and a little vinegar to the third.
- (d) Stick a label on the outside of each bottle naming what is in it.
- (e) Every five days, observe how much the algae has grown and record it in a table.
- (f) After 15 to 20 days, write the conclusion from the results you have.
Do not keep the three bottles in different places. If one stands in the sunlight on a window sill and another in a dark corner, you can no longer tell whether a difference was caused by what you added or by the light. Only one thing may differ between the bottles, and that is the substance you put in.
Recording What You See
Observing is not looking at the bottles and trusting your memory. It is writing down what you see, at the time you see it. That is what the table is for. The first column of the table holds the date, and the next three hold the growth of algae in the first, second and third bottle. Write down the colour of the water, whether the algae is clinging to the inside of the glass or settling at the bottom, and whether there is any smell. The starting state is recorded too, because later growth is measured against it.
Results and Conclusion
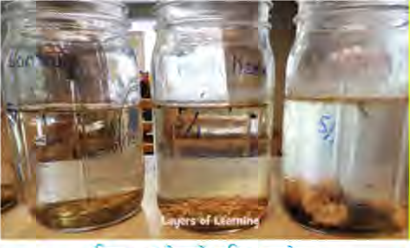
The results seen at each five day observation are set out in the table below.
| Date | First bottle (nothing added) | Second bottle (chemical fertiliser) | Third bottle (vinegar) |
| At the start | Same amount of algae | Same amount of algae | Same amount of algae |
| After 5 days | Algae grown a little | Algae grown fast, water turning green | Algae has stopped growing |
| After 15 to 20 days | Some growth of algae | Much more growth of algae than in the first bottle | The algae is dying off |
To read the table, compare the second bottle with the first. Nothing was added to the first, so it is the standard the others are judged against. The algae grew much more in the second, because the chemical fertiliser supplied the nutrients algae needs. The algae died back in the third, because the vinegar made the water acidic and algae cannot live in water like that. The conclusion is written from this comparison.
Conclusion: chemical fertiliser plays a positive part in the growth of algae, while acid plays a negative part.
This conclusion answers the curiosity the work started from. That fertiliser carried in by rainwater increases the algae in a pond is now something you can say because you tested it, not because you were told it.
The Research Report
When a research work is finished, a report on it has to be written. Reports can follow different formats. The work above can be reported under the headings given below.
- Title of the research: The effect of chemical fertiliser and acid on the growth of algae
- Objective: to find out what part chemical fertiliser and acid play in the growth of algae
- Materials needed: pond water containing algae, three bottles, chemical fertiliser, vinegar
- Method: an ordered account of what was done
- Observation: the table of dates and the results from all three bottles
- Conclusion: the final statement that the data supports
The method in a report is written in the past tense, because the work has already been done. While doing it you write "bring the water", but in the report you write "water containing algae was brought from the nearby pond". A report carries what was seen and nothing else, not what was hoped for. If the algae in the third bottle died, that is what the report says, whatever the hypothesis had predicted.
Report: the written account, set out in order, of what was done in a research work, what was seen, and what conclusion came out of it.
A Research You Can Carry Out Yourself
Which absorbs more heat, white or black? This question can be settled with the same seven steps. Fix the objective, write your assumption, then take two identical containers with the same amount of water in each, wrap one in white paper and the other in black, stand both in the same sunlight at the same time, and measure the temperature of each after a fixed period. Record the readings in a table, compare them, draw your conclusion, write the report and present it to your class.
The rule is the same here. The two containers must be alike, the water must be equal, and the sunlight must be the same. The one thing that differs is the colour. Only then can you say that the difference in temperature was caused by the colour.
The full lesson is waiting for you
The notes are free to read in full. A free account opens the rest of the practice, and tracks your progress and confidence score for every subject. Presentations and videos need approval from Learn Yeti.