Straight Lines, Curved Lines and Line Segments
The edge of an exercise book, the side of a desk and the corner of a wall are all straight. The rim of a bangle, a rainbow and the bend of a road are not. A line that keeps going in the same direction without bending anywhere is called a straight line. A line that keeps changing its direction as it goes is called a curved line.
There is one big difference between a straight line and a line segment. A straight line has no end points. It carries on for ever in both directions, and arrowheads at both ends are drawn to show this. A line segment is only the part of a straight line that lies between two fixed points. It has two end points and a definite length. That is why a line segment can be measured with a ruler while a straight line cannot. The segment joining the points A and B is written as AB, and its length can be stated, for example \( AB = 6 \) cm.
Pairs of Lines
Take a blank page from an exercise book and fold it twice, in a different way each time. Draw a line with a pencil along each fold, and two lines appear on the page. Sometimes the two lines cut each other and sometimes they do not. How the page was folded decides what kind of pair of lines you get. Pairs of lines made in this way fall into three kinds: intersected, perpendicular and parallel.
Intersected lines: when two straight lines cut each other, they are called intersected lines. The point where they cut is called the point of intersection. For example, the straight lines AB and CD that cut each other at the point E are intersected lines.
When two straight lines cut each other, they cut at exactly one point.
Two straight lines can never cross at two different places, because a straight line cannot bend back.
Perpendicular Lines
Fold a rectangular sheet of paper exactly in half twice, then open it out. The two creases make four corners on the page, and all four corners are the same size. When each one is measured with a protractor it comes to \( 90^\circ \). Lines that meet like this are called perpendicular lines.
Perpendicular lines: if two lines intersect in such a way that an angle of \( 90^\circ \) is formed between them, those lines are called perpendicular lines. For example, if \( \angle AOC = 90^\circ \), then AB and CD are perpendicular lines. This is written as \( CD \perp AB \).
Perpendicular lines are also intersected lines. It is wrong to think that a pair must be chosen as either intersected or perpendicular. Every perpendicular pair does cut. What makes it perpendicular is that the angle formed is exactly \( 90^\circ \).
Parallel Lines
Run a pencil along both edges of a ruler and draw two line segments. However far those two are extended in both directions, they never meet. The perpendicular distance between them stays the same at every point, because the width of the ruler is the same all along.

Parallel lines: if two straight line segments never intersect even when they are extended for ever, those lines are called parallel lines. For example, if the lines AD and CB are parallel, this is written in symbols as \( AD // CB \).
The perpendicular distance between parallel lines is equal at every point. Checking this distance in two or three places is how you find out whether a pair of lines really is parallel.
Recognising a Pair of Lines
To find out what kind of pair a pair of lines is, only two things need to be checked: whether the lines cut each other anywhere, and if they do, how many degrees the angle between them measures.
They cut, and the angle is not \( 90^\circ \): intersected lines
They cut, and the angle is exactly \( 90^\circ \): perpendicular lines
They never cut however far they are extended: parallel lines
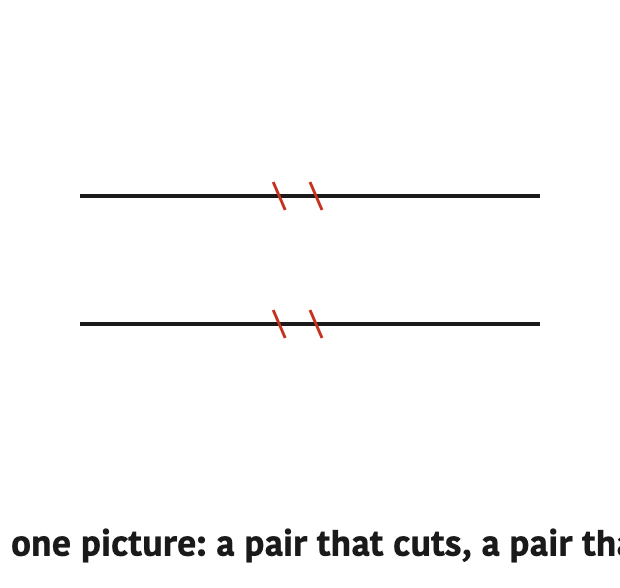
In the first pair the straight lines AB and PQ cut each other at the point O, so they are intersected lines. In the second pair the straight lines XY and PQ do not cut at any point and the perpendicular distance between them is equal, so they are parallel lines. In the third pair the straight lines MN and PQ cut each other at the point O, so they too are intersected lines.
The fingers of your own hand can show all three kinds of pair. Spreading them, holding them together and folding them makes a different pair each time.

Now raise your thumb upwards and hold your forefinger out straight in front. Measured with a protractor, the angle between those two fingers comes to \( 90^\circ \). Here the straight lines PO and QO cut each other at the point O and \( \angle POQ = 90^\circ \), so PO and QO are perpendicular lines.
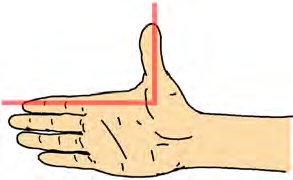
When the forefinger and the middle finger are spread apart and the angle is measured, it comes to \( \angle AOB = 35^\circ \). Here the straight lines AO and BO are joined at the point O, so the line segments these two fingers stand for meet each other and make an angle of \( 35^\circ \).
Constructing Parallel and Perpendicular Lines with Set Squares
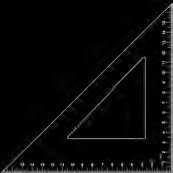
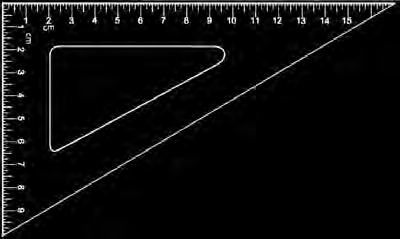
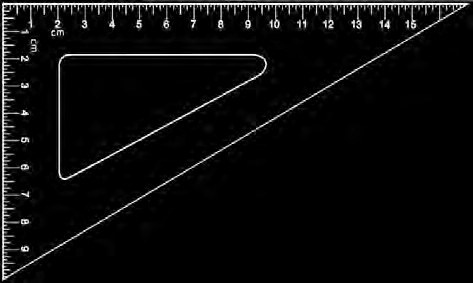
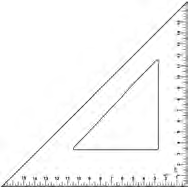
Set square: the two triangular pieces in a geometry box are called set squares. One set square has one angle of \( 90^\circ \) and the other two angles of \( 45^\circ \) each, and it is called the \( 45^\circ \) set square. The other set square has one angle of \( 90^\circ \) and the other two angles of \( 30^\circ \) and \( 60^\circ \), and it is called the \( 60^\circ \) or \( 30^\circ \) set square.
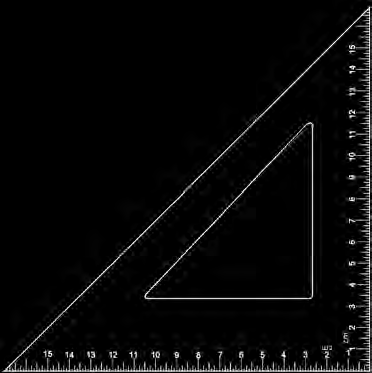
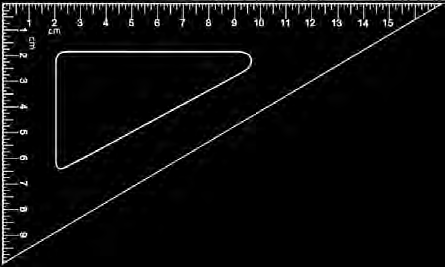
The main idea behind drawing parallel lines is simple. One set square is held so that it cannot move, and the second set square is slid along its edge. As it slides, its slope does not change, so every line drawn along it comes out parallel to the first one.
- (a) Draw a straight line AB and place one edge of the \( 45^\circ \) set square so that it lies exactly along the line.
- (b) Now place the \( 30^\circ \) set square so that it fits tightly against the second edge of the first set square, and hold it down firmly so that it cannot move.
- (c) Slide the \( 45^\circ \) set square downwards along the edge of the second set square and draw as many parallel lines as you need.
- (d) The lines PQ and XY drawn in this way are parallel to the first line AB, that is, \( PQ // AB \) and \( XY // AB \).
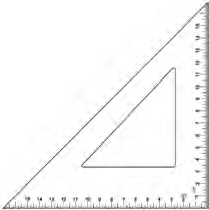
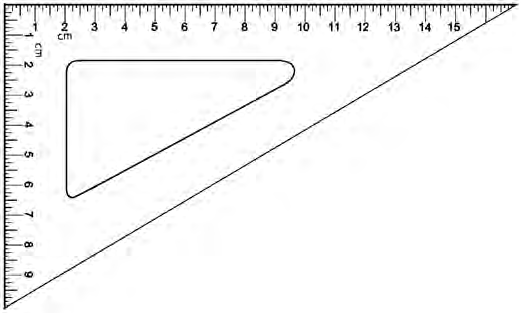
When perpendicular lines are drawn, the ruler does the job of holding things steady. Draw a straight line AB and lay the ruler along it. Place the set square so that its \( 90^\circ \) edge sits right against the ruler at the point P, and draw the line segment PQ. The set square can now be slid forwards and backwards along the ruler to draw as many perpendicular lines as are needed.
The Perpendicular Bisector of a Line Segment
The line segments AB and CD cut each other at the point M. When AM and MB are measured with a ruler they come out equal, and when the corners are measured with a protractor, \( \angle AMC = 90^\circ \) and \( \angle CMB = 90^\circ \). Two things are happening here at once. The point M divides AB into two equal parts, and CD is also perpendicular to AB. When both of these conditions are met, CD is called the perpendicular bisector of AB.
Perpendicular bisector: a line that divides a line segment into two equal parts and also makes an angle of \( 90^\circ \) with that same line segment is called the perpendicular bisector of that line segment.
Here is how the perpendicular bisector is drawn using a ruler and a protractor.
Step 1: A line segment of the given length is drawn with a ruler:
\[ AB = 10 \text{ cm} \]
Step 2: To find the midpoint, half of the length is worked out:
\[ \frac{10 \text{ cm}}{2} = 5 \text{ cm} \]
Step 3: A mark is made 5 cm from A and named C. This makes both parts equal:
\[ AC = BC = 5 \text{ cm} \]
Step 4: The protractor is placed at the point C, an angle of \( 90^\circ \) is drawn, and that line is named CD:
\[ \angle ACD = 90^\circ \]
Both conditions have now been met. The point C divides AB into two equal parts and CD is perpendicular to AB, so the line segment CD is the perpendicular bisector of AB. The same job can also be done at the midpoint O by holding a ruler and the \( 45^\circ \) set square together.
Drawing a Perpendicular Bisector with a Compass
A compass has three main parts: the needle, the holder for the pencil, and the pencil itself. When the needle is fixed at a point and the pencil is turned, an arc or a circle is drawn. A compass is used for drawing many kinds of geometrical figure.
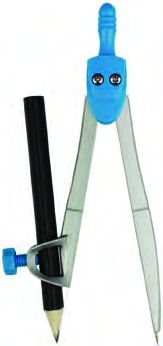
The needle of a compass is very sharp. Always press it into your exercise book or paper and nowhere else. Do not wave a compass about while carrying it, and never point the needle end towards anyone.
Now let us go through the process of drawing the perpendicular bisector of the line segment AB with a compass.
Step 1: A straight line segment is drawn with a ruler:
\[ AB = 10 \text{ cm} \]
Step 2: To choose the radius for the compass, half of AB is worked out first:
\[ \frac{10 \text{ cm}}{2} = 5 \text{ cm} \]
Step 3: A radius bigger than the half is taken. A radius of 6 cm will do here, because:
\[ 6 \text{ cm} > 5 \text{ cm} \]
Step 4: The needle of the compass is placed at the point A and an arc is drawn on both sides of AB.
Step 5: Without changing the setting of the compass, the needle is placed at the point B and an arc is again drawn on both sides of AB.
Step 6: The two points where the arcs cut each other are named P and Q, and they are joined with a ruler.
Step 7: The point where PQ and AB intersect is named O. PQ is now the perpendicular bisector of the line segment AB. Checking it gives:
\[ AO = OB = 5 \text{ cm} \]
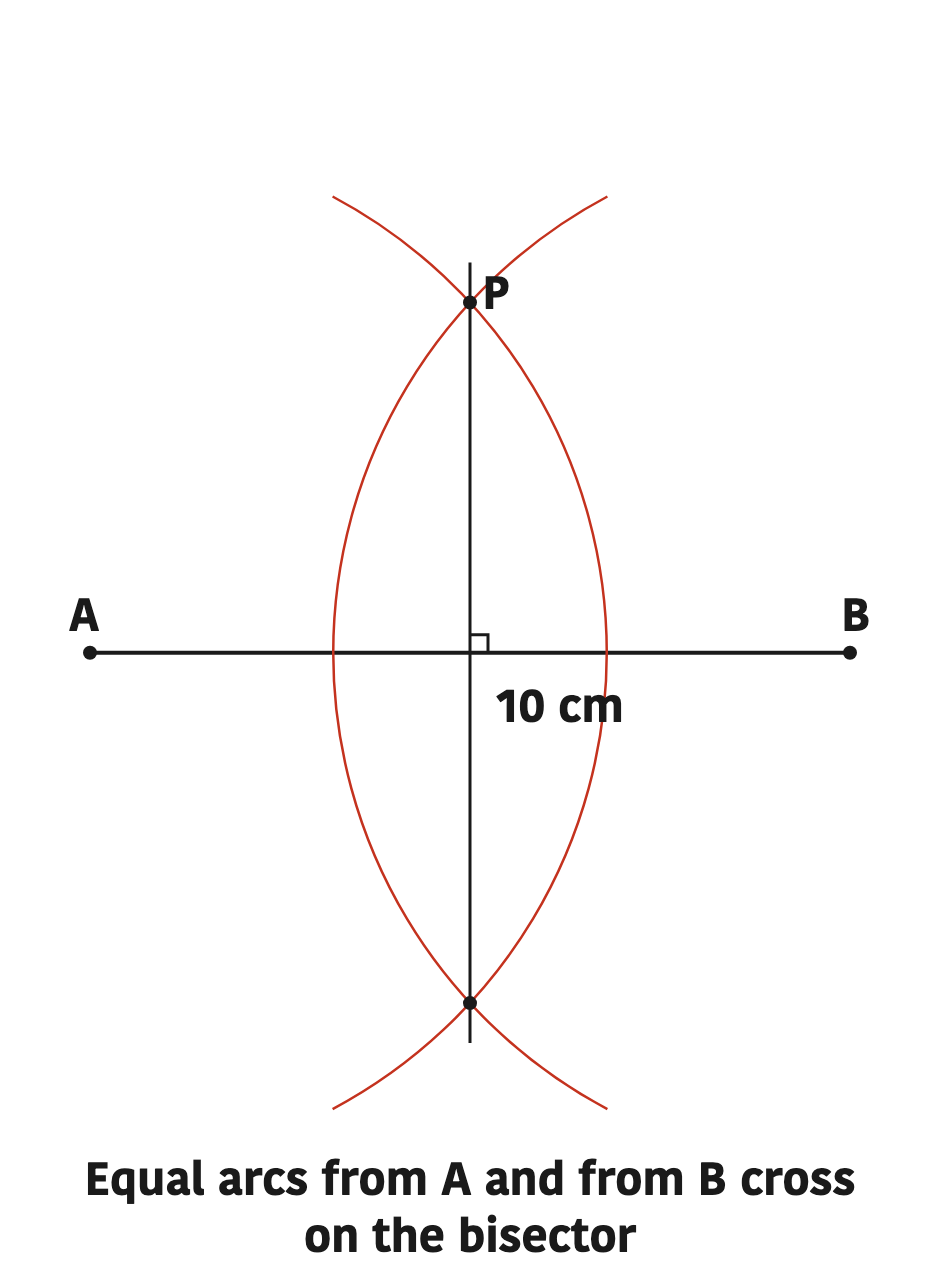
If the radius taken is equal to half the segment or less than half, the arcs drawn above and below will not cross at all. So always take a radius greater than half the length before drawing the arcs.
Classifying Angles
Take two Meccano strips and join them at one end. Now open the other ends out slowly. The more they are opened, the bigger the angle between them becomes. At first a small sharp angle is made, then a square corner, and after that a wide open angle. Angles are classified according to this measure.
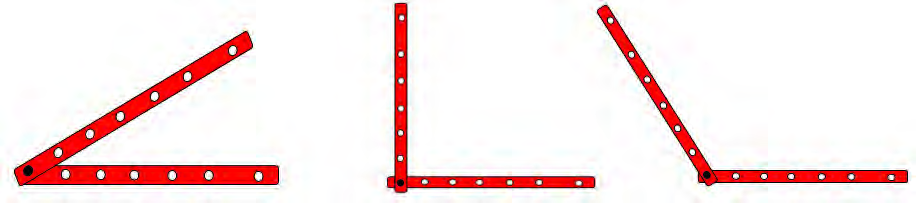
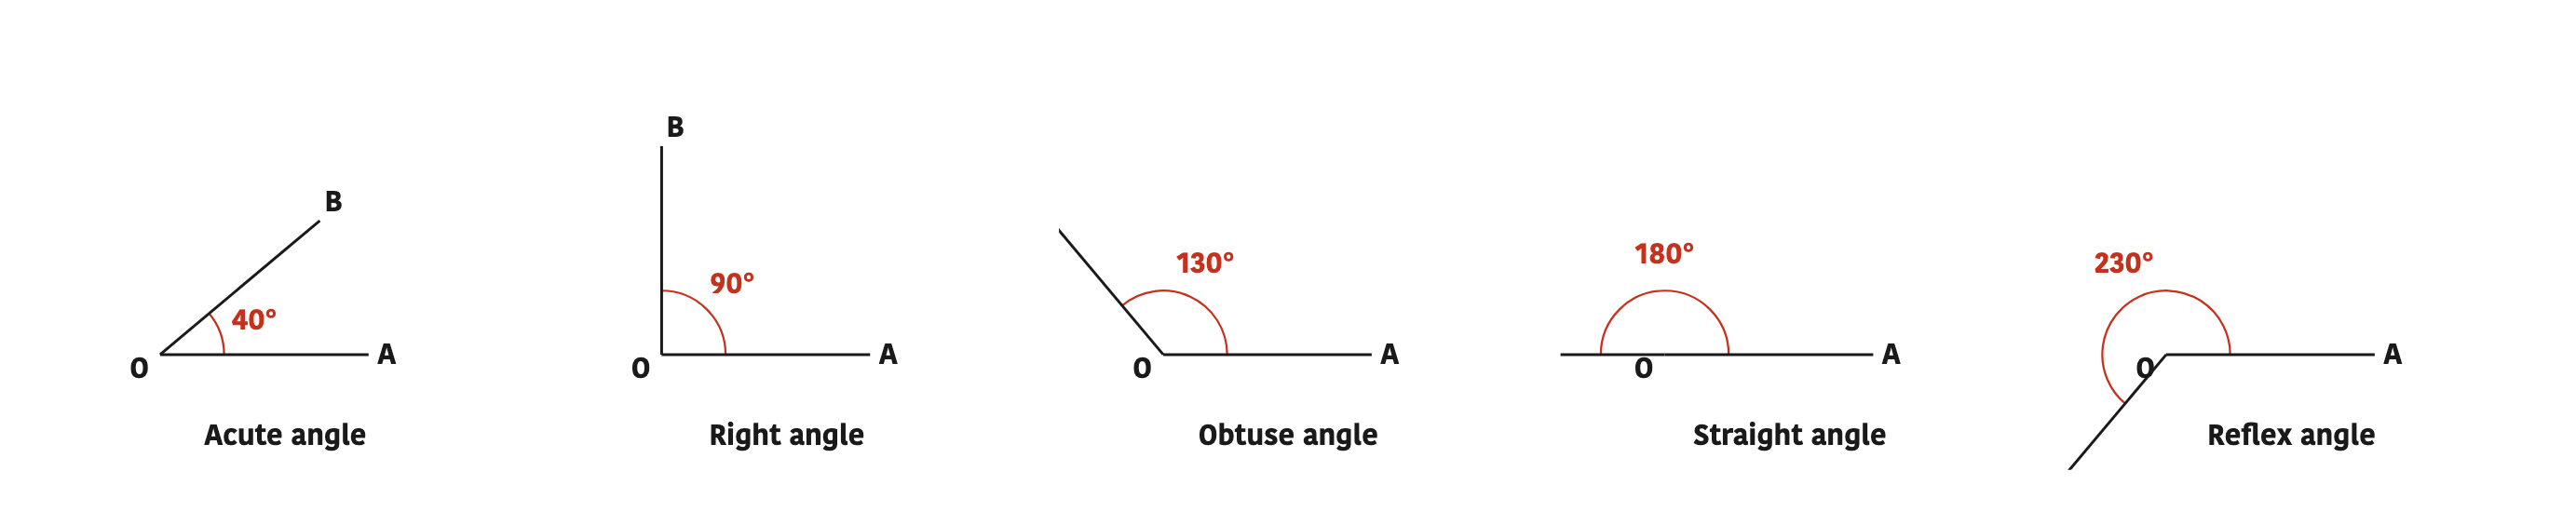
Right angle: an angle whose measure is \( 90^\circ \) is called a right angle.
Acute angle: an angle greater than \( 0^\circ \) and smaller than \( 90^\circ \) is called an acute angle.
Obtuse angle: an angle greater than \( 90^\circ \) and smaller than \( 180^\circ \) is called an obtuse angle.
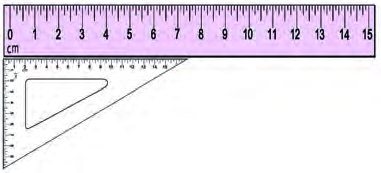
Take a rectangular piece of transparent paper and lay its corner over the vertex of an angle you have drawn. The corner of a rectangle is exactly \( 90^\circ \). If the other arm of your angle falls inside the paper, the angle is acute. If it lies along the edge of the paper, it is a right angle. If it falls outside the paper, it is an obtuse angle.
Let us sort some angles out by measuring them with a protractor. \( \angle PAN = 75^\circ \), which is smaller than \( 90^\circ \), so it is an acute angle. \( \angle DOG = 130^\circ \), which is greater than \( 90^\circ \) and smaller than \( 180^\circ \), so it is an obtuse angle. \( \angle RAC = 90^\circ \), so it is a right angle.
Straight Angles and Reflex Angles
Draw a straight line AB along the edge of a ruler and mark a point O in the middle of it. OA and OB are the two arms and both lie on the same straight line. The angle formed here measures \( 180^\circ \). Now use a set square to bring another arm down from O. The angle on the outer side of that arm turns out to be even bigger than \( 180^\circ \).
Straight angle: if the measure of an angle is \( 180^\circ \), that angle is called a straight angle. For example, if \( \angle XOY = 180^\circ \), then \( \angle XOY \) is a straight angle.
Reflex angle: if the measure of an angle is more than \( 180^\circ \) but less than \( 360^\circ \), that angle is called a reflex angle. For example, if \( \angle MON = 230^\circ \), then \( \angle MON \) is a reflex angle.
| Name of angle | Measure | Example |
| Acute angle | More than 0° and less than 90° | 35°, 75° |
| Right angle | Exactly 90° | 90° |
| Obtuse angle | More than 90° and less than 180° | 130°, 150° |
| Straight angle | Exactly 180° | 180° |
| Reflex angle | More than 180° and less than 360° | 230°, 250° |
The two hands of a clock make a different angle at every different time. One angle is formed on one side between the hour hand and the minute hand, and the rest of the turn forms the angle on the other side. As the time changes, these angles can be acute, right, obtuse, straight or reflex.
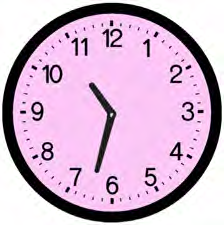
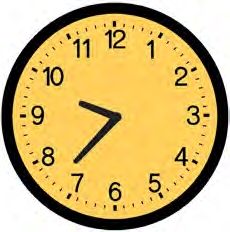
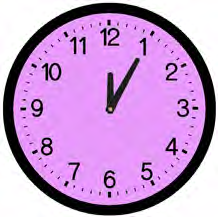
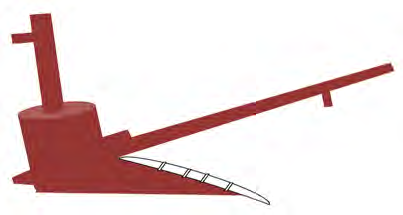
All of these angles can also be found in the tools and buildings around us. Where the blade, the beam and the handle of a plough are joined together, both acute and obtuse angles can be seen.
Measuring a Reflex Angle
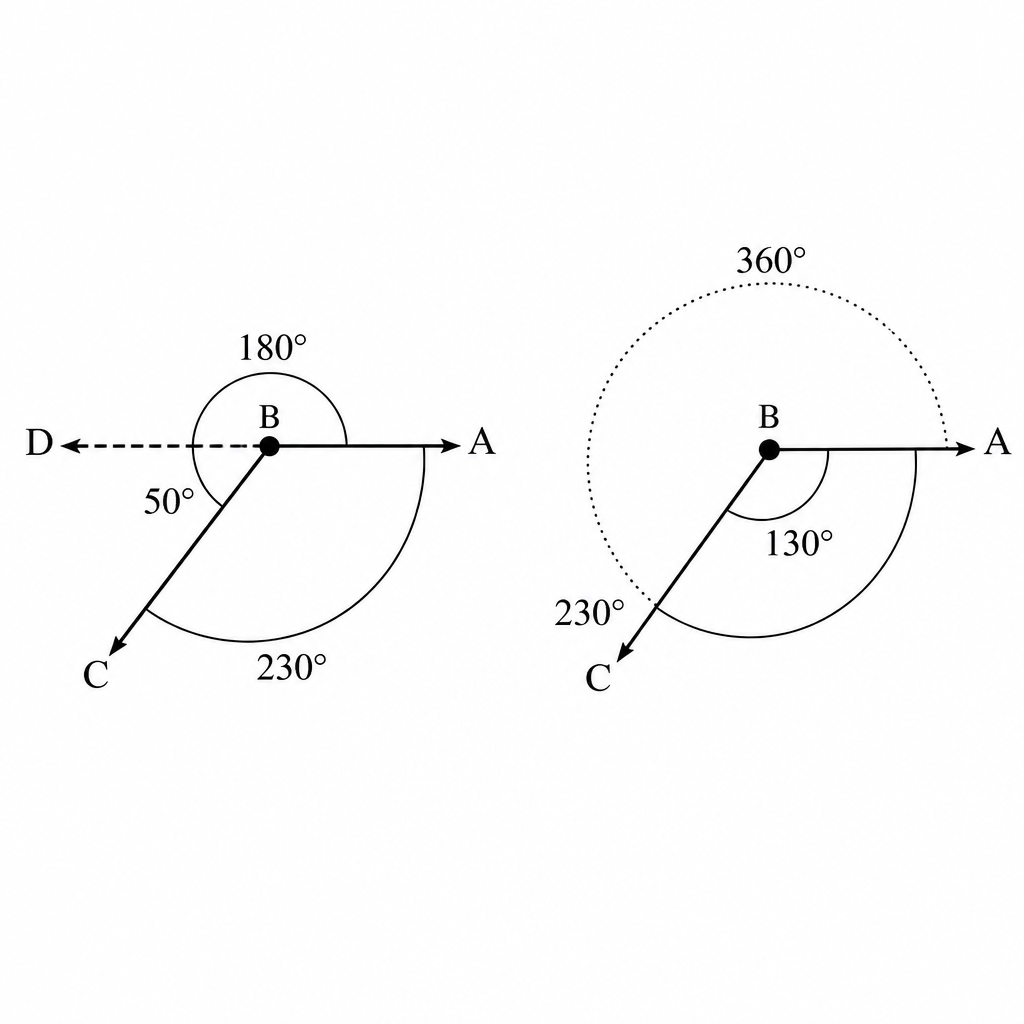
The protractor we use can only measure angles up to \( 180^\circ \) easily. So how is an angle bigger than \( 180^\circ \) measured? There are two ways. Take an angle ABC in which the inner angle measures \( 130^\circ \), and the reflex angle on the outside is the one we have to find.
First method, Step 1: The base line segment AB is extended straight to D. The angle this makes is a straight angle:
\[ \angle DBA = 180^\circ \]
Step 2: The part that is left over is measured with the protractor:
\[ \angle CBD = 50^\circ \]
Step 3: The two parts are added to give the measure of the reflex angle:
\[ 180^\circ + 50^\circ = 230^\circ \]
Second method, Step 1: The angle at the centre of a full circle is written down:
\[ 360^\circ \]
Step 2: The angle on the other side is measured with the protractor:
\[ \angle ABC = 130^\circ \]
Step 3: That angle is subtracted from the full turn:
\[ 360^\circ - 130^\circ = 230^\circ \]
Both methods give the same answer, \( 230^\circ \). Either method may therefore be used.
Constructing the Bisector of an Angle
Bisector of an angle: a ray that divides an angle into two equal parts is called the bisector of that angle. For example, if \( \angle MAP = \angle NAP \), then AP is the bisector of \( \angle MAN \).
The first method is paper folding. Draw an angle MAN on a page and cut it out with scissors. Starting at the vertex A, fold the arm AM over so that it lies exactly on the arm AN, press the fold and open it out. Draw a line along the crease and name it P. When \( \angle MAP \) and \( \angle NAP \) are measured with a protractor they come out equal, so AP is the bisector of \( \angle MAN \).
The second method uses a protractor. An angle PQR is drawn and measured, giving \( \angle PQR = 70^\circ \).
Step 1: To divide the angle into two equal parts, the measure is divided by 2:
\[ \frac{70^\circ}{2} = 35^\circ \]
Step 2: Taking the arm QR as the base, an angle of \( 35^\circ \) is drawn with the protractor and its ray is named QS:
\[ \angle RQS = 35^\circ \]
Step 3: Checking the part that is left over gives the same measure:
\[ \angle PQS = 70^\circ - 35^\circ = 35^\circ \]
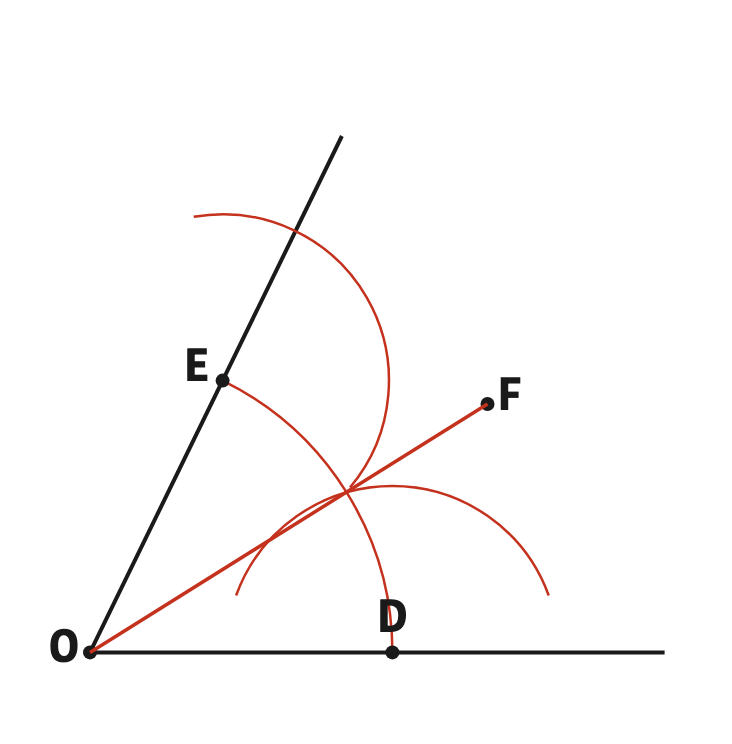
Since both parts are equal, QS is the bisector of \( \angle PQR \). The third method uses a compass and a ruler, and it works even when the measure of the angle is not known.
- (a) Take an angle ABC and place the needle of the compass at the vertex B.
- (b) Draw an arc that cuts the arms AB and BC at the points D and E.
- (c) Now take the same radius, draw an arc from the point D and another from the point E, and name the point where these two arcs cut each other F.
- (d) Join the points B and F with a ruler. BF is now the bisector of the angle ABC, and you can check it by measuring with a protractor.
Constructing Standard Angles
Now let us learn to construct angles of fixed sizes ourselves. Every construction begins by drawing the base line segment OA with a ruler. The second arm is then drawn using either a set square or a compass.
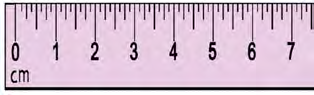
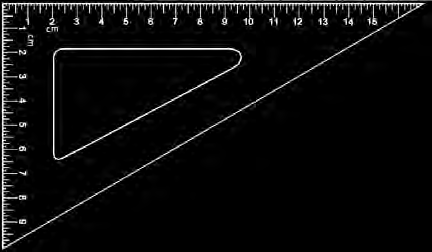
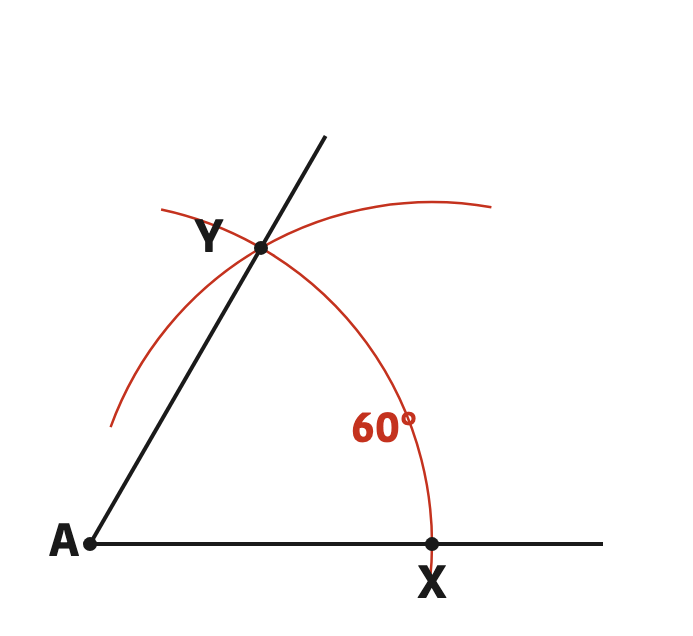
To construct \( 60^\circ \) with a set square, draw the line segment OA, place the \( 60^\circ \) set square so that its \( 60^\circ \) corner sits at the point O, and draw the line segment OB. This gives \( \angle AOB = 60^\circ \).
An angle of \( 60^\circ \) can also be constructed with a compass. Draw the line segment OA, put the needle at O, take a radius equal to OC and draw an arc that cuts OA at the point C. Now take the same radius from the point C, mark the arc and name that mark D. Joining O and D with a ruler gives the line segment OB, and \( \angle AOB = 60^\circ \).
An angle of \( 120^\circ \) is made by putting two set squares together. At the point O place the \( 90^\circ \) set square first and then the \( 30^\circ \) one, and draw the line segment OB. The idea behind this is the following sum:
\[ 90^\circ + 30^\circ = 120^\circ \]
When \( 120^\circ \) is made with a compass, the method for \( 60^\circ \) is simply repeated. Two marks of the same radius are made on the arc, one from C to D and one from D to E, and joining O to E gives \( \angle AOB = 120^\circ \), because:
\[ 60^\circ + 60^\circ = 120^\circ \]
To make an angle of \( 30^\circ \), draw the line segment OB, place the \( 30^\circ \) set square at the point O and draw the line segment OA. This gives \( \angle AOB = 30^\circ \). With a compass, an angle of \( 60^\circ \) is constructed first and then bisected, because:
\[ \frac{60^\circ}{2} = 30^\circ \]
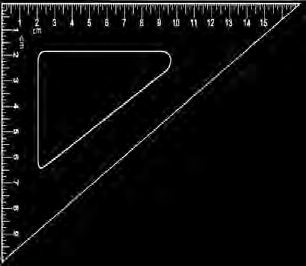
To make an angle of \( 90^\circ \), draw the line segment OA, place the set square so that its \( 90^\circ \) corner is at the point O, and draw the line segment OB. With a compass, two marks C and D of the same radius are made on the arc, arcs are drawn again from those two points, and the crossing point E is joined to O. Measuring with a protractor gives \( \angle AOE = 90^\circ \).
To make an angle of \( 45^\circ \), draw the line segment OA, place the \( 45^\circ \) set square at the point O and draw the line segment OB. With a compass, an angle of \( 90^\circ \) is constructed first and then bisected. An angle of \( 45^\circ \) can also be constructed from the middle of \( 30^\circ \) and \( 60^\circ \), because:
\[ \frac{30^\circ + 60^\circ}{2} = 45^\circ \]
Always check a construction afterwards by measuring it with a protractor. Even a small slip in the construction shows up at once in the measurement.
The full lesson is waiting for you
Create a free account to unlock activities, practice tests, presentations and videos - and to track your progress and confidence score for every subject.
When two straight lines cut each other they are called intersected lines, and they cut at exactly one point.
11 more points to remember - sign in to see the rest.
Question 1 of 14